PANEL LINES - DAMBUSTERS
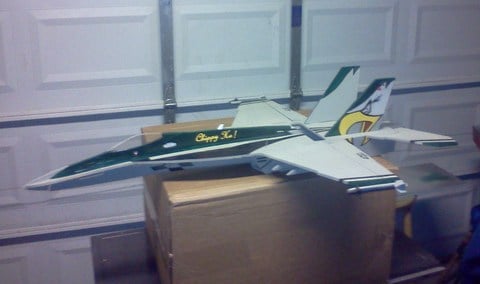
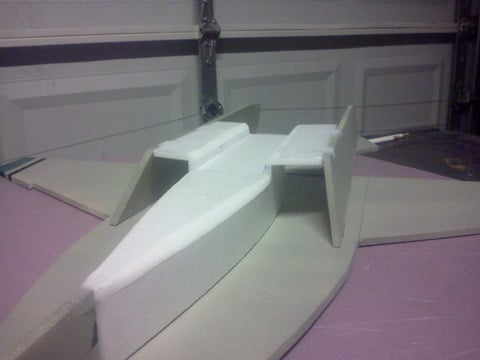
We got an E-mail over the last week with some awesome pictures attached. Shaun decided to take Tomas Hellberg's F-18E Superhornet design and do some custom work. This is just something you can't get out of a box.
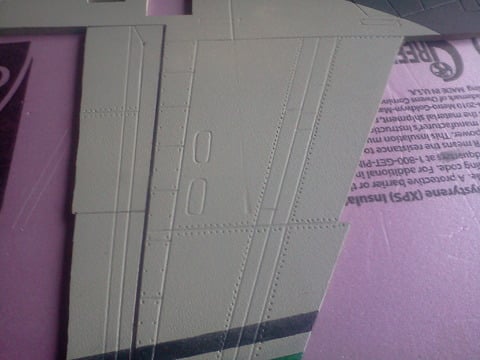
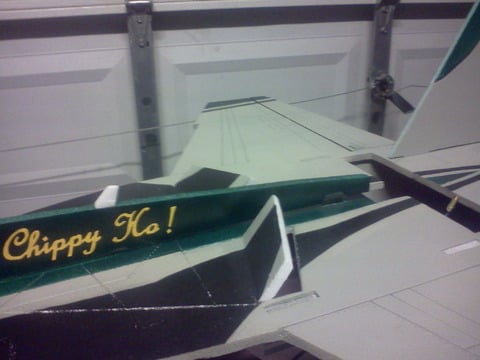
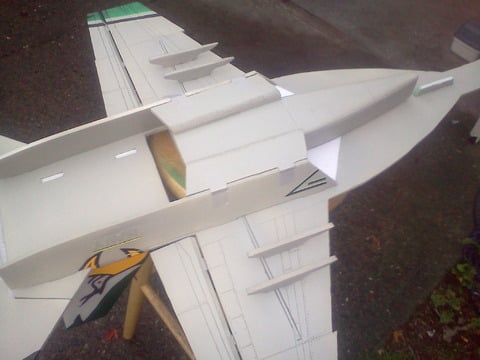
He added in a custom battery hatch, custom airbrakes, and an LED flashing light set up all worked into the design. We won't really discuss his custom paint job representing the VFA-195 squadran out of Japan, because we noticed something else, careful panel lines pressed right into the foam.
We got an E-mail over the last week with some awesome pictures attached. Shaun decided to take Tomas Hellberg's F-18E Superhornet design and do some custom work. This is just something you can't get out of a box.
He added in a custom battery hatch, custom airbrakes, and an LED flashing light set up all worked into the design. We won't really discuss his custom paint job representing the VFA-195 squadran out of Japan, because we noticed something else, careful panel lines pressed right into the foam.

We hope he sends over a video (hint hint) but we decided to share his work for all you builders out there looking for some inspiration.
Here is how he said he managed to get the panel line look just right...
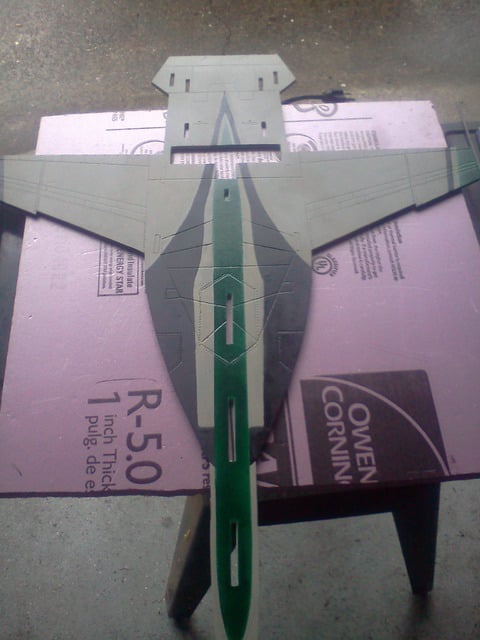
"For the panel lines I took a piece of landing gear from an old helicopter that had a nice plastic ball on the end. Then i took a pic that showed the detailed panel lines on the real bird and measured them to the depron as close as i could get for the right look. Then I used just a simple ruler and ran the plastic ball along the lines using just enough pressure to indent the foam. A bit of work but it looks great in the end. As far as the tail art , I took a drawing i did of the art and then cut each individual piece out. Then sort of like a puzzle i placed the pieces one by one on the tail used a pencil to trace the outlines leaving a small dent, similar to the panel line method. Then with regular testors model paint you can hand paint the colors. Leaving the small dent in the foam while outlining the pieces i found that the paint would run into the dent and leave a nice crisp line. I let the paint dry then continue each section as needed. This works so much better then using decals. I've had a few jets that would tend to lose the decals while at high speeds...."
Great work Shaun! This type of details makes even the simpliest profile jet look so custom. And a sense of pride when you finish.
For everyone else, keep sending over your work, we love it!
INSTALL SERVOS, CONTROL HORNS
Many times, we get E-mails on how to install servos, push rods, control horns and all the various components needed to get a simple foam parkjet off the ground and actually be able to control it.
As it turns out, we found an excellent video made by the guys at RCSUPERPOWERS that clearly explains the whole process, so why reinvent the lesson?
One key message here, there is really no wrong way to do it, a lot of times, builders have their preferred methods of putting in the servo and control horns, but ultimately, there are just a couple of rules to follow and then installing the servos and control horns is a snap.
For the advanced builder, many times hiding the servos and push rods is half the fun, figuring out how to route them through the plane and only expose small parts help give the plane a great scale look and keeps all the ugly bits out of sight.
So here is the video, take a few notes and download some free plans and get to building.
HOW TO BEVEL CONTROL SURFACES
In an effort to expand the knowledge here on Parkjets, we thought this video is a great instruction on how to bevel the edges of the control surfaces and hinge them on your foam parkjet.
The video is produced by the guys over at RCSuperPowers (who have great plans on their site) and is a great example on how easy it is to work with foam.
One note here is that Dave (in the video) uses a razor to simply cut away the excess foam, but it is very easy to use a bit of sandpaper and a block to simply create the necessary angle on the edge of the control surfaces. Either way, a very simple way to make sure your control surfaces have the necessary throw to make your parkjet do what you need it to do.